Here’s a custom Hugo shortcode that creates an image gallery in a masonry style using GLightbox. This approach will display images from a specified folder in a masonry layout, and each image will open in a lightbox when clicked.
Lightbi Hugo Theme
This feature is available in the Lightbi theme, and you can explore it further here.
Step 1: Set up the shortcode
In your Hugo site’s theme directory, create a file for this shortcode at layouts/shortcodes/img_gallery.html. Then, add the following code to define the gallery layout:
{{- $folder := .Get "folder" -}}
{{- $images := resources.Match (printf "%s/*.{jpg,jpeg,webp,png}" $folder) -}}

<div class="gallery">
  {{- range $images }}
    <a href="{{ .RelPermalink }}" class="gallery-item glightbox" data-gallery="my-gallery">
      <img src="{{ .RelPermalink }}" alt="{{ .Name | plainify }}" class="img-fluid rounded mb-2" />
    </a>
  {{- end }}
</div>

<style>
  /* Masonry layout styling */
  .gallery {
    column-count: 3;
    column-gap: 15px;
  }
  .gallery-item {
    display: inline-block;
    width: 100%;
    margin-bottom: 15px;
    break-inside: avoid;
  }
  .gallery img {
    width: 100%;
    height: auto;
    border-radius: 4px;
    transition: transform 0.2s ease;
  }
  .gallery img:hover {
    transform: scale(1.05);
  }
  /* Responsive adjustments */
  @media (max-width: 992px) {
    .gallery {
      column-count: 2;
    }
  }
  @media (max-width: 576px) {
    .gallery {
      column-count: 1;
    }
  }
</style>
Step 2: Configure GLightbox initialization
In your main HTML template (often found in layouts/_default/baseof.html or layouts/partials/footer.html), add the following JavaScript to initialize GLightbox on page load:
<script src="https://cdn.jsdelivr.net/npm/glightbox/dist/js/glightbox.min.js"></script>
<script>
  document.addEventListener("DOMContentLoaded", function() {
    const lightbox = GLightbox({
      selector: '.glightbox',
      touchNavigation: true,
      loop: true,
      scrollLock: false
    });
  });
</script>
This JavaScript code initializes GLightbox with the .glightbox selector, which is applied to each image link in the gallery. The scrollLock: false setting ensures that the page can be scrolled even when the lightbox is open.
Step 3: Add GLightbox CSS
To ensure the gallery functions correctly, add the GLightbox CSS file either in the <head> section of your main HTML template:
<link rel="stylesheet" href="https://cdn.jsdelivr.net/npm/glightbox/dist/css/glightbox.min.css">
Step 4: Use the Shortcode in Your Content
In any Markdown file where you want the gallery to appear, call the shortcode like this:
{{/*< img_gallery folder="/img/sample/folder/" >*/}}
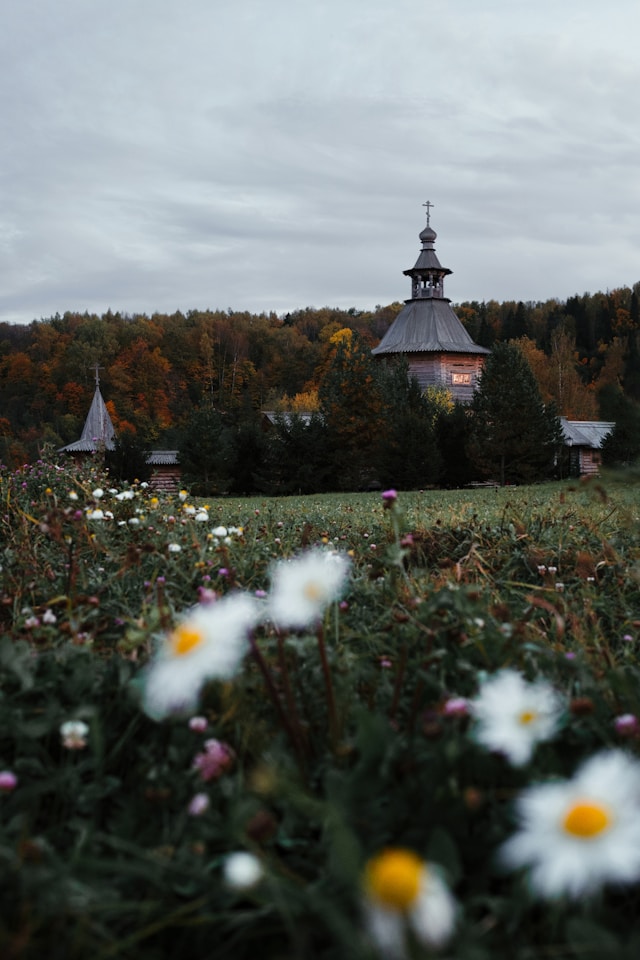
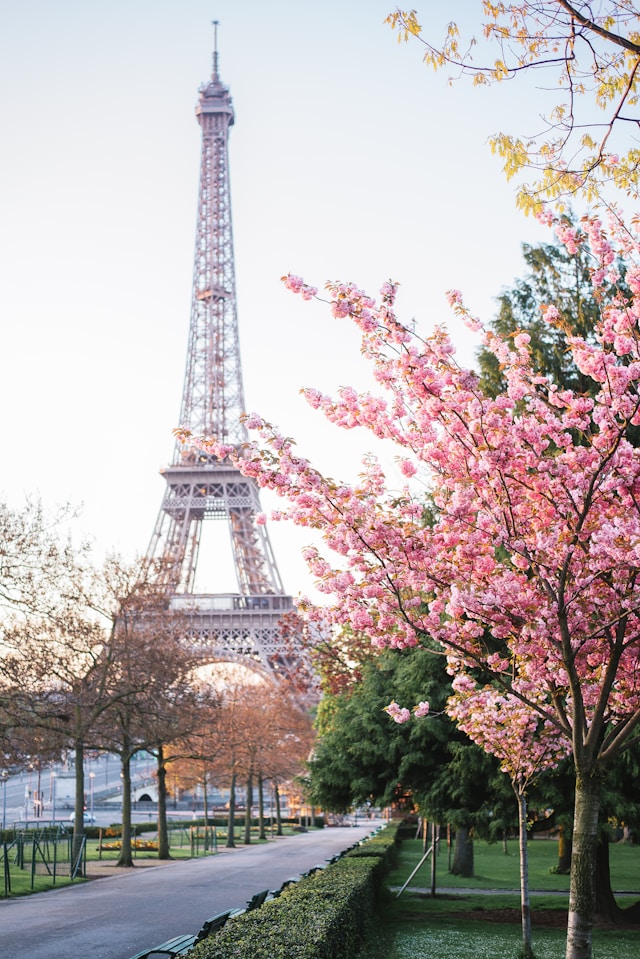
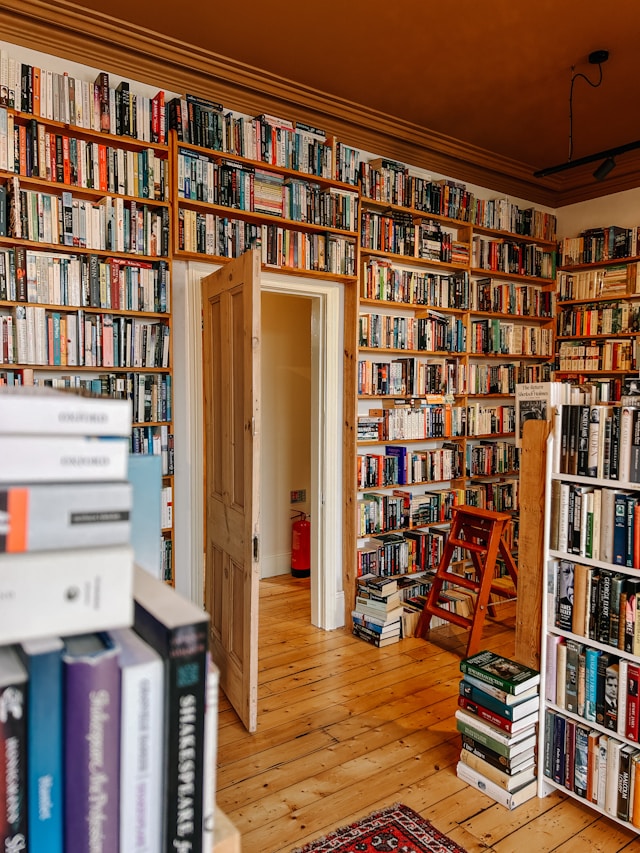
This will dynamically generate an image gallery from all images in the /img/sample/folder/ directory, applying the masonry style and enabling GLightbox for each image. You can view the image gallery created by the above shortcode below.
How the Shortcode works
- Folder parameter: The
folderparameter specifies the directory where the images are stored and the images will fetch from it. - GLightbox configuration: Each image link (
<a>tag) has theglightboxclass and adata-galleryattribute, which groups the images so users can navigate through them within the lightbox. - CSS styling: The
galleryclass uses CSS columns to create the masonry effect. Images are responsive, and the column count adapts for smaller screens.
While this approach is an efficient way to create a responsive image gallery in Hugo, please note that it is still under development. I’m currently working on adding new features, such as titles and captions, and hope to release updates in the coming days.
If you have any suggestions, feel free to share them via the email link below.



What are your thoughts on this post?
I’d love to hear from you! Click this link to email me, I reply to every message!
Also use the share button below if you liked this post. It makes me smile, when I see it.