The below will demonstrate how to install Oracle Database Express Edition and connect through Command prompt and Oracle SQL Developer in Windows.
Install Oracle Database Express Edition
For development, or learning purpose you can the use Oracle database and you can start with Oracle Database Express Edition (XE) which is free to use. You can download the same from the below link,
Link to download Oracle Database XE
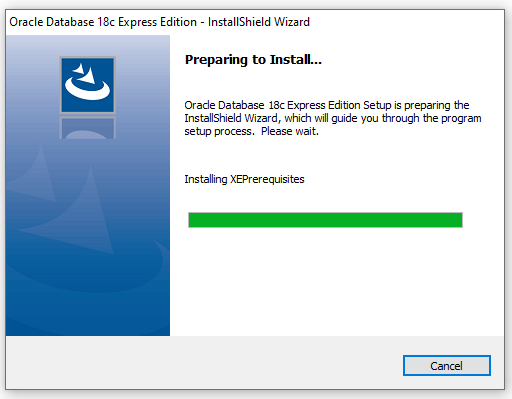
After the downloading, you can run the setup and start to install the database. You can see the below screenshot when you start to install.
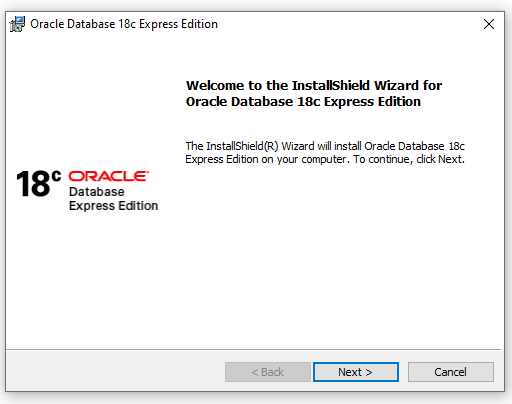
You have to click the ‘Next’ button as shown below,
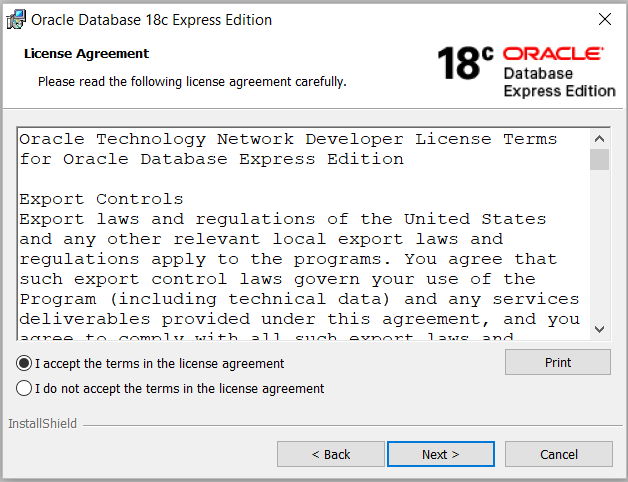
Read the license agreement and click ‘I accept the terms in the license agreement’. Then click “Next”.
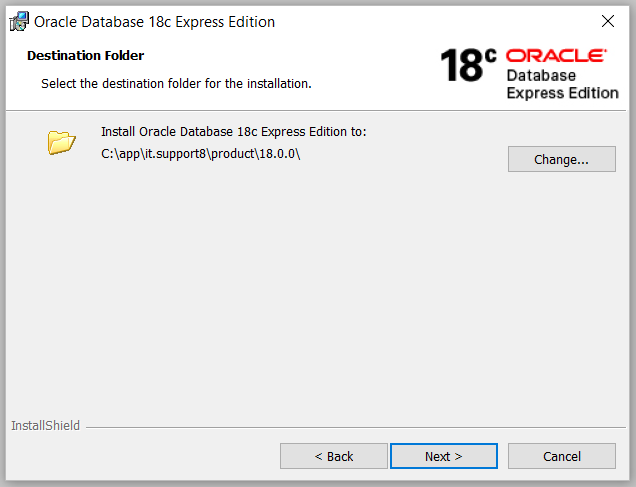
Choose a destination folder for where Oracle 18c XE should be installed into, or accept the default location. Then click “Next“.
Remember the password you are entering here and it is the database password we need to use later.

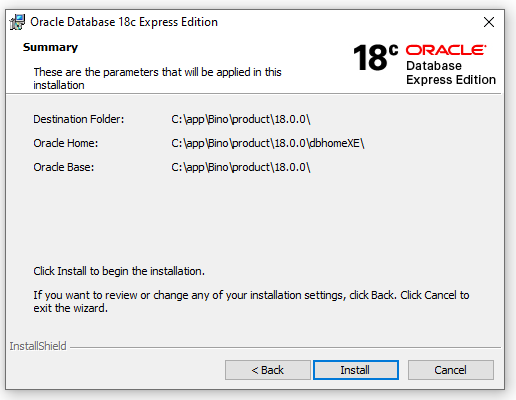
In the next screen Oracle will show the summary of Installation, and you need to click the ‘Install’ button.
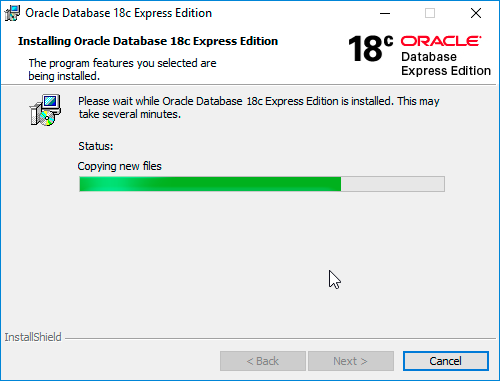
Now, 18c XE is being insalled, may be it will take several minutes.
If you have the Windowns Defender Firewall activated, you will be asked to network acess to the Java Platform SE binary. Check the checkboxes and allow the access. Please note that it is required for the full functionality of the Oracle Database.
Once the installation is finished, a sucess message will come with a “Oracle Database Installed Successfully” summary screen. Click on ‘Finish’.
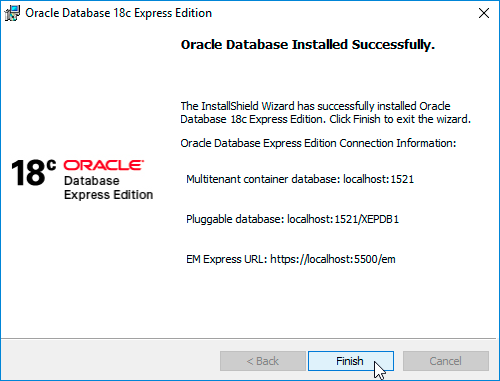
Yep, Now you have installed the Oracle Databse 18c XE in your Windows machine.
Connecting via Command Prompt
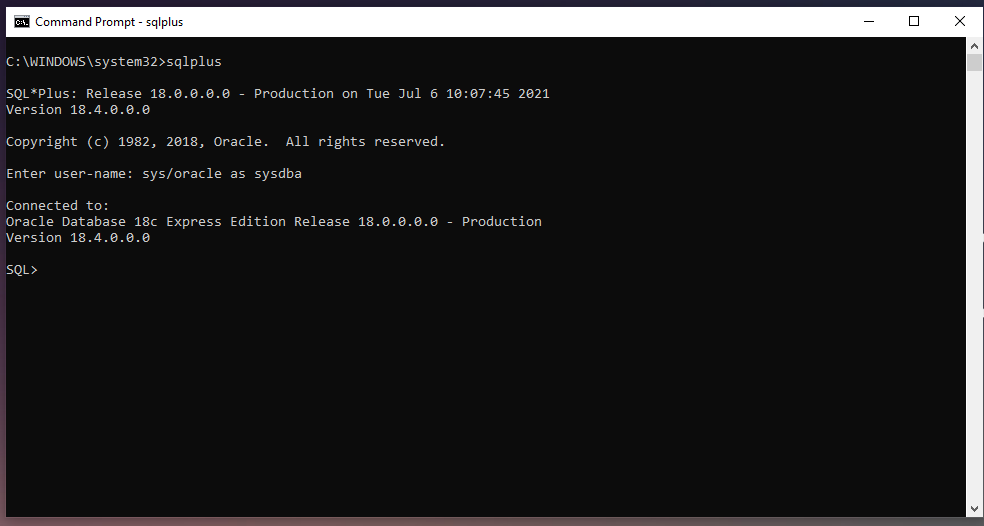
After completing the installation to start the database, open the command prompt and enter the following commands
sqlplus
SQL Plus is the most basic Oracle Database utility, with a basic command-line interface. In which you can enter and execute SQL, PL/SQL, SQL Plus, and operating system commands such as query results, database administration, and run batch scripts.
You can read more here about SQL Plus.
After opening SQL Plus, you have to enter the username and password to connect to the database. The default username is sys and the password is oracle. You can enter the username as below,
Format: username/password as sysdba
sys/oracle as sysdba
If you entered username only as sys you will get the following error,
ORA-28009: connection as SYS should be as SYSDBA or SYSOPER
That is because when we are trying to login with sys user we have to set DBA Privilege=SYSDBA to get full access.
You can see a message in the command prompt that the Oracle Database is connected and the version will appear there.
Connecting via Oracle SQL Developer
To connect the database from Oracle SQL Developer you need to create a new connection in the Oracle connections section. To get the connection details, you can run the below command in the command prompt.
select * from v$listener_network;
You can see the local listener as (ADDRESS=(PROTOCOL=TCP)(HOST=HOST_NAME)(PORT=1522)) and the service name as XE. Enter the details as shown in the below screenshot. You have to provide the same password when we entered it during the database installation.
Remember the role should be SYSDBA as in the screenshot.

After entering the details as above, test the connection. If all the details are correct status will show as ‘Success’ in the bottom left corner. You can save the connection, and start using the database from a new query window.
Now you have installed the Oracle Database 18c XE and connected the same.
What are your thoughts on this post?
I’d love to hear from you! Contact me or Click this link to email me, I reply to every message!
Also use the share button below if you liked this post. It makes me smile, when I see it.