Hugo?
Hugo is a fast and static website generator written in the Go language. Websites built with Hugo can be hosted anywhere from GitHub Pages to Amazon S3 without any database or other language dependencies.
I first started using Hugo for my Malayalam write-ups blog, Wizbi Tales (which has since been shut down and moved to this website). Malayalam is a language spoken in Kerala, India. After overcoming the initial learning curve, I appreciated Hugo for its simplicity and performance. When I started this blog, I didn’t have to think twice about using it.
Okay, Now let’s dive to the steps for creating a blog in Hugo. The below section shows how to install Hugo in Windows and develop a blog in it.
Create Your Directories
- Open Windows explorer
- Create a new folder
C:\Hugo, you can create anywhere the same. - Create a subfolder in the Hugo folder
C:\Hugo\bin
Install Hugo
- Go to Hugo releases (https://github.com/gohugoio/hugo/releases/) and download the latest Hugo executable.
- Extract all the contents to your
..\Hugo\binfolder which is created before. - After that you need to open the command prompt and add
hugo.exeexecutable to your PATH variable, for that use the commandsetx PATH "%PATH%;C:\Hugo\bin". Remember to open the command prompt as an administrator. - Else you can go directly to the Environment Variables from the start menu and add the
C:\Hugo\binin your PATH variable. - To check the installation is a success you can type
hugo helpin your command prompt, you should see an output start like
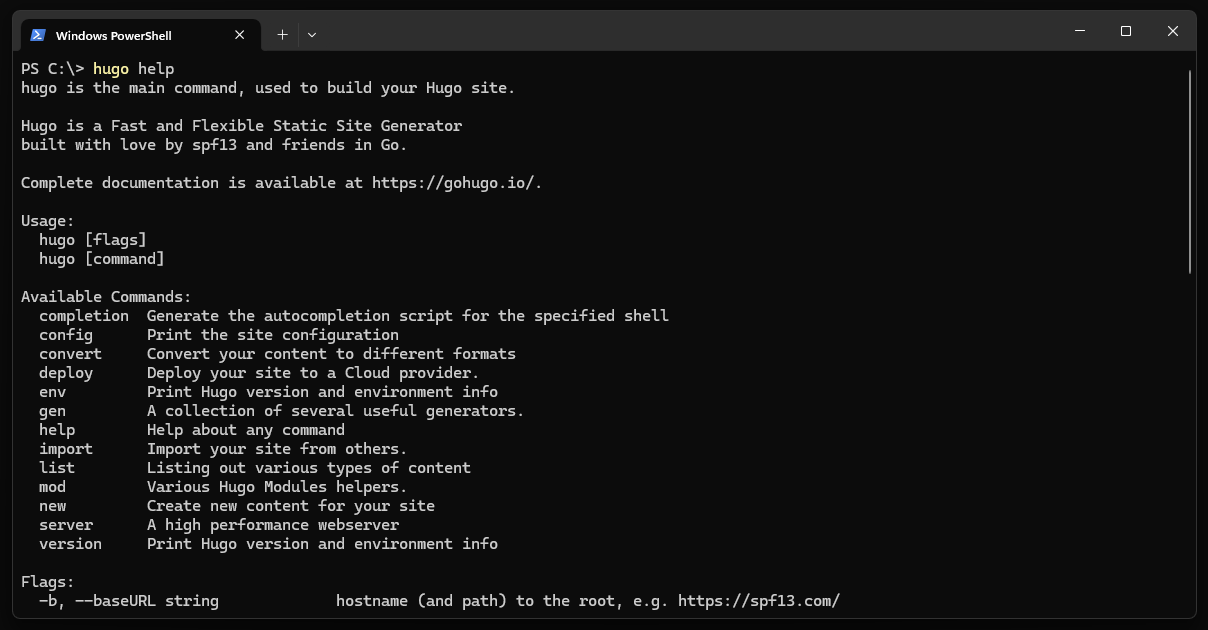
Hugo in Command Prompt
Create a Hugo Site
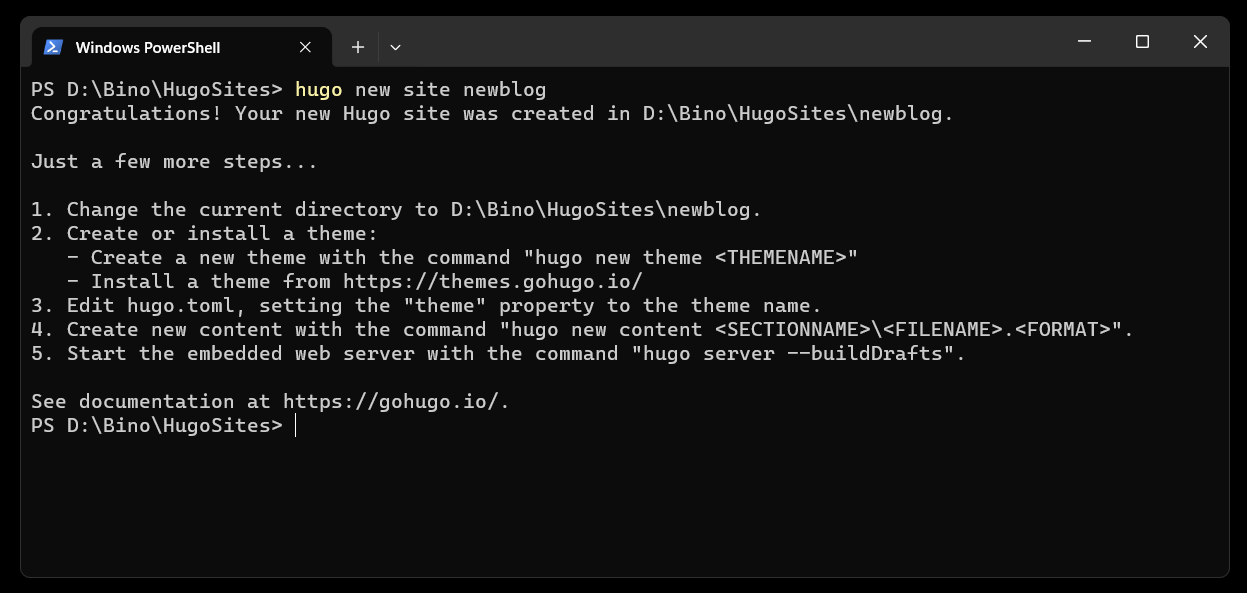
- Go to your directory (let’s assume its as HugoSites) where you want to create the hugo site and run the command
hugo new site newblog.
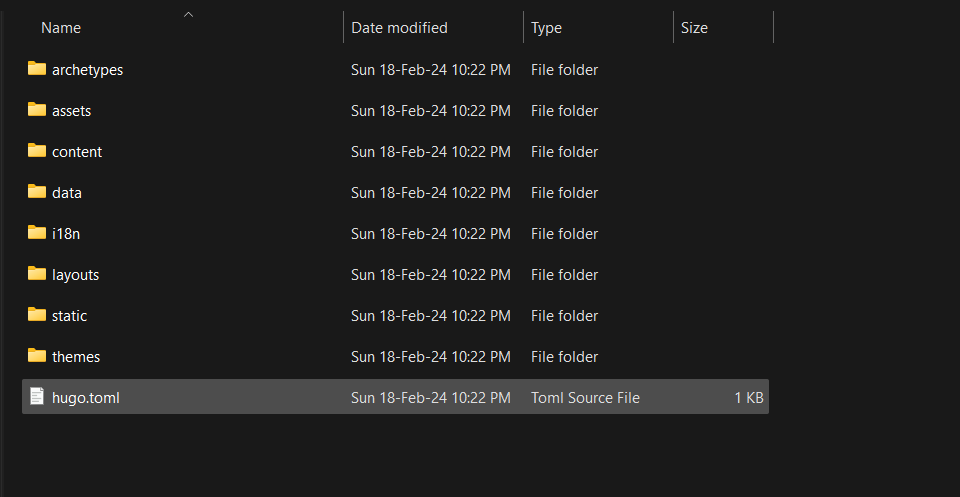
- In the HugoSite now you should have a directory like below:
Pick a Theme
In Hugo, there is no default theme so you should select your own from Hugo Themes. Here I am using my theme Lightbi, it’s my personal preference, you can choose whichever you want.
You can go to the GitHub and download the theme, you may avoid the cloning from GitHub as you are sure you needed to tweak it later. So after downloading, unzip it into the theme folder .\HugoSites\newblog\themes Change the folder name from lightbi-hugo-main to lightbi-hugo.
After that copy the contents from the content folder from path (..\themes\lightbi-hugo\exampleSite\content) paste it to the content folder into \newblog\content\.
Modify Configuration
In the exampleSite folder there is also a config file named hugo.toml, copy the same and paste it in the newblog folder. There are a lot of parameters in the config file, but you don’t need to modify any of them now. If you need you can check in later.
Make sure that the extracted folder name as lightbi-hugo which should be same as the parameter theme = "lightbi-hugo".
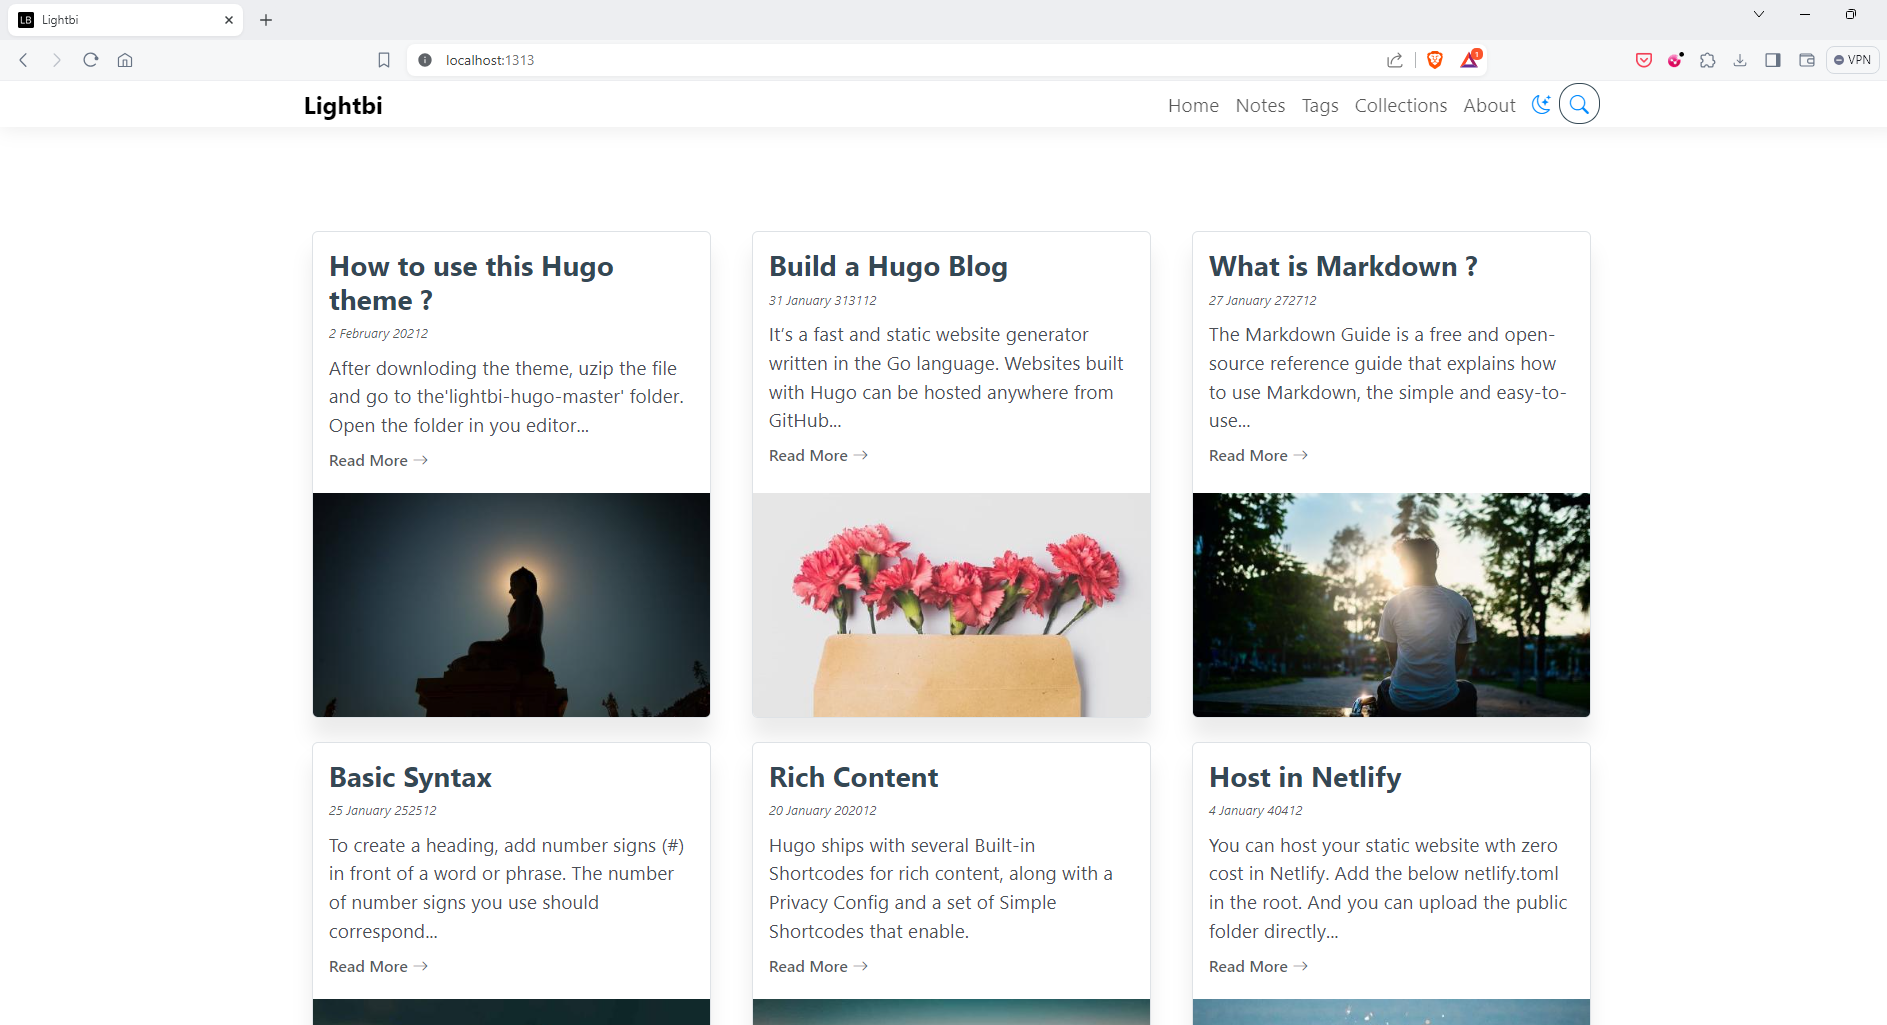
Your Hugo website is almost ready, to see the same in browser run hugo server in command prompt. You can see the localhost link in the command prompt where your website is running, mostly it will run on 1313 port.
Open the browser and go to http://localhost:1313/, to view the site live.
Create a post
In the browser, you’ll see a list of blog posts copied from the exampleSite content folder. You can edit the markdown files in the ..\\newblog\\content\\post directory or add a new one.
By opening and editing any pre-existing file, you’ll see the changes reflected in your browser after saving it. Alternatively, create a new file within the content folder to add new content.
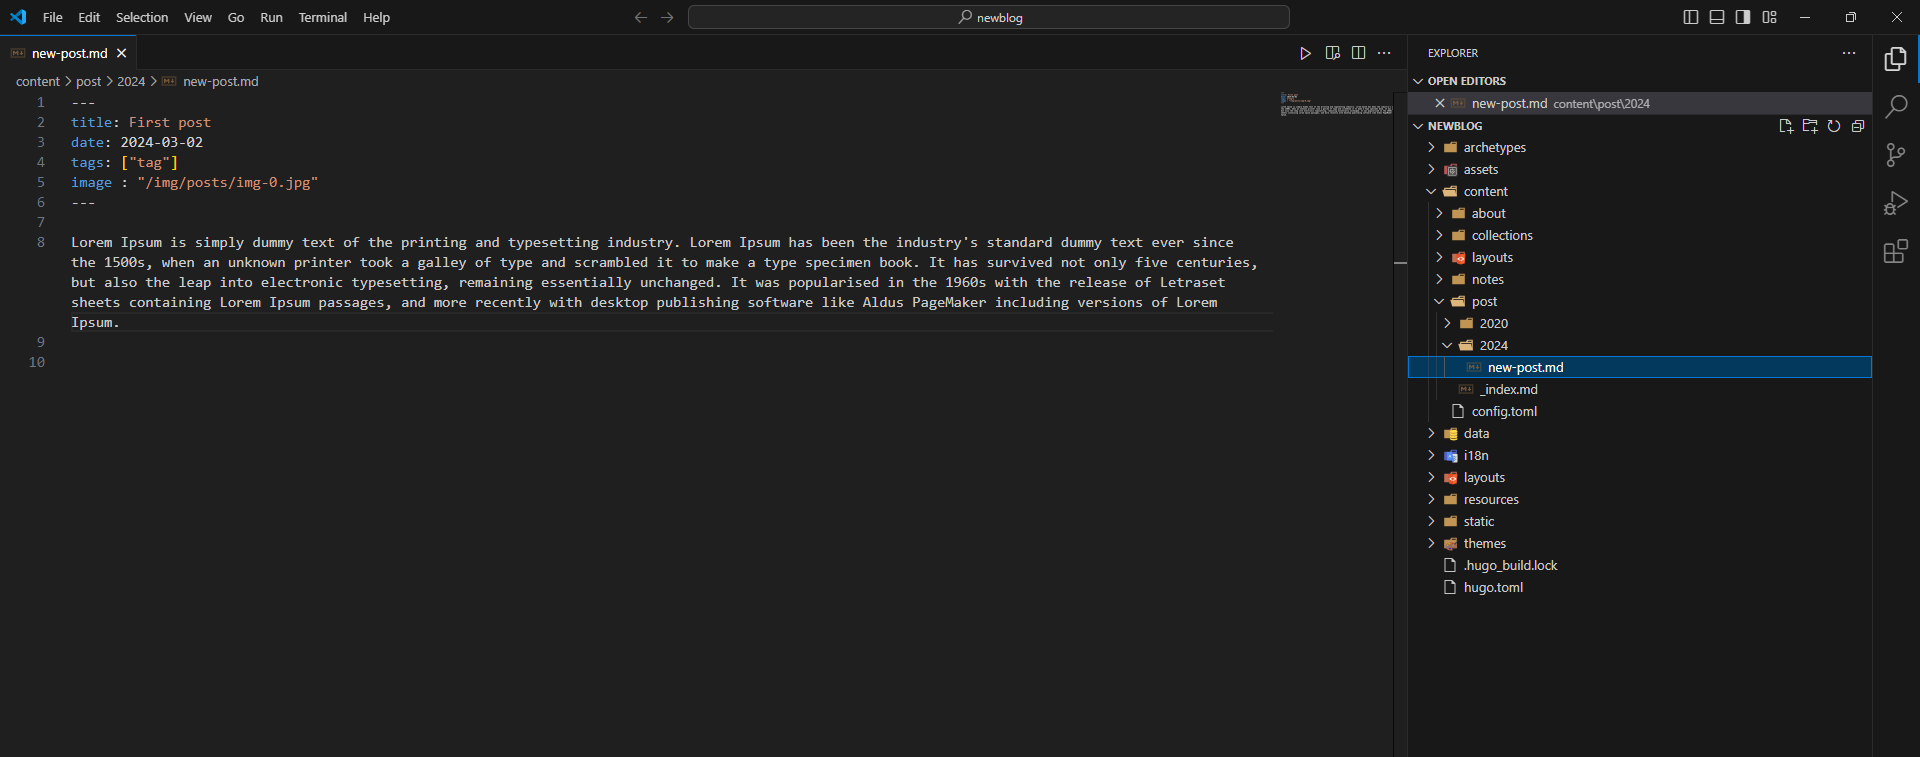
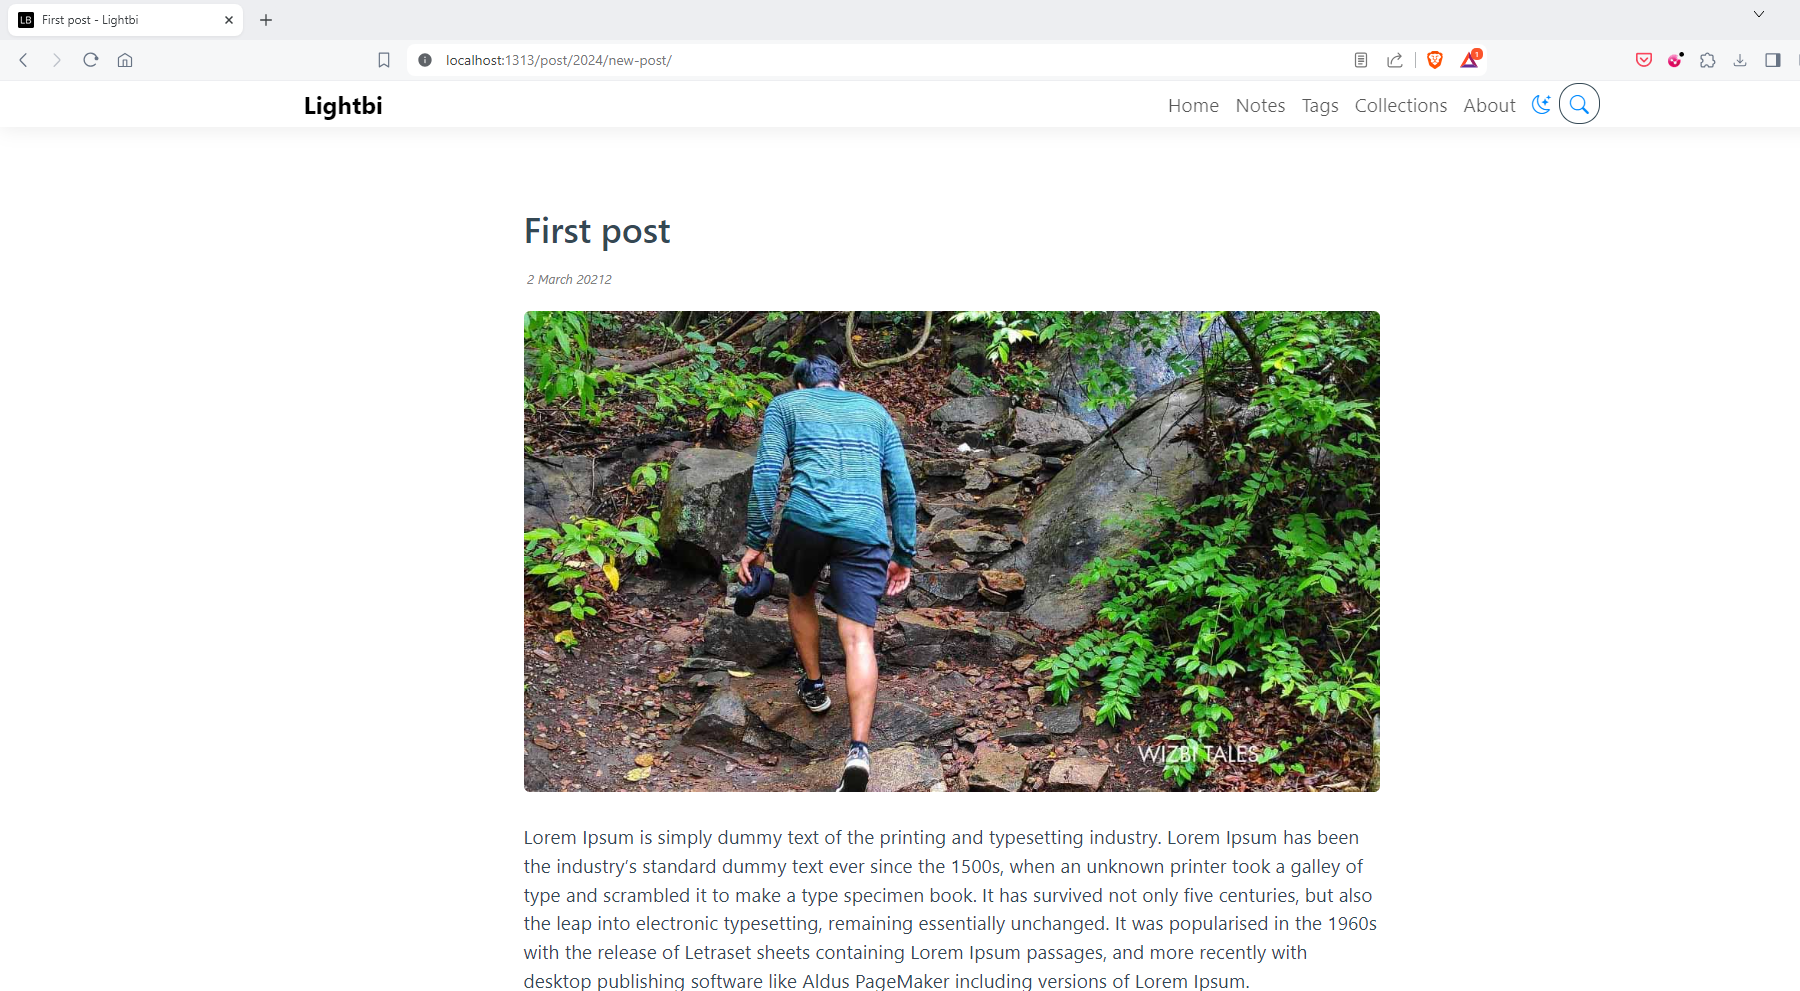
After saving the document you can view the post in the website as below. You can add or edit your contents as per you requirment and Hugo will automatically update with the new content.
For creating a new post, create a new markdown file with .md extension and insert your contents in it. You can modify the title, subtiltle, date, etc from the Front Matter. By this way you can add more posts in your blog and create more content.
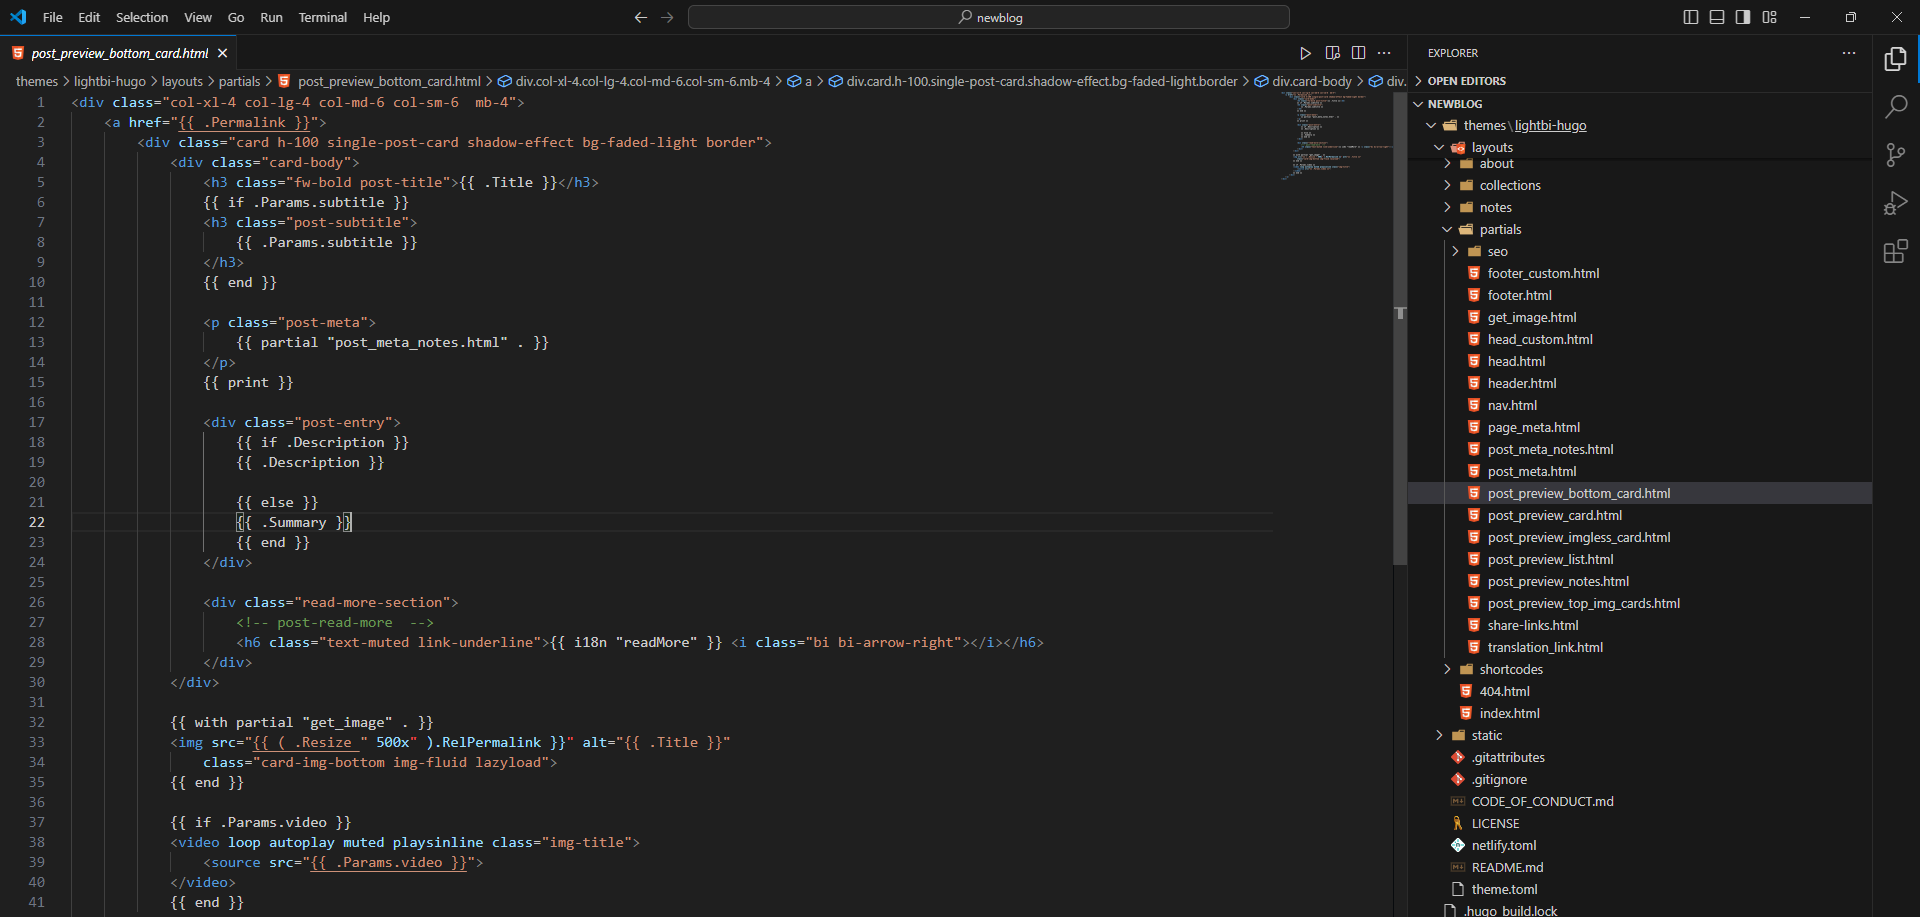
If you want to modify your webiste user interface, modify the CSS files in the static folder. Also the templates for the webiste is built with the HTML files in the layout folder. Hugo using Go templates, you can check the details from here as it is nicely explained.
Remember to change the structure of the website you have to edit the files in layouts folder and to change the CSS and images you can go to assets folder.
Don’t bother about the looks now, make your content first, you can tweak the styles later.
Thank you
I hope this little tutorial give you some guidance in installing Hugo and creating a blog in it. After making some contents you can go the offical documentation of Hugo and learn more about the same.
Keep coding.
What are your thoughts on this post?
I’d love to hear from you! Contact me or Click this link to email me, I reply to every message!
Also use the share button below if you liked this post. It makes me smile, when I see it.